Residential Air Duct Cleaning
in Houma, LA
"If Ya’ Coughin and Ya’ Sneezin’
Your Ducts Could Be the Reason! ™"
Request Service
Hero Request Form
Expert Residential Air Duct Cleaning Services
At Healthy Air Duct Cleaning & Mold Remediation, we're dedicated to making sure your home has the cleanest air possible. Serving Metairie, Houma, and surrounding parishes, our team offers comprehensive residential air duct cleaning designed to meet your specific needs. Our services include:
- FREE home inspections
- Visual inspection of HVAC System and Ducts
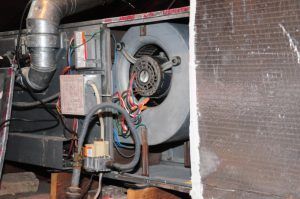
- Cleaning of HVAC system including Evaporator Coils, Blowers, Supply and Return Ducts
- Application of antimicrobial and mold-resistant products
- Summary reports provided for every cleaning with before and after pictures
For air duct cleaning, we use Foster® 40-20™ Fungicidal Protective Coating, an EPA-register product and the industry's leading antimicrobial coating. It comes with a 10-year warranty and is formulated to effectively prevent the spread of mold and odor-causing bacteria on walls, ceilings, pipes, and interior and exterior surfaces of HVAC duct systems.
Contact us today to schedule your service.
Signs You Need Residential Air Duct Cleaning
Wondering if it's time to get your residential air ducts cleaned? Here are some indicators that suggest you should consider Healthy Air's professional services:
- Dust accumulation around vents
- Unpleasant odors from HVAC system
- Visible mold growth inside ducts
- Inconsistent airflow in different rooms
- Recent renovations or construction
- Increase in allergy symptoms
Why Residential Air Duct Cleaning Matters
Maintaining clean air ducts is essential for a healthy living environment. Here are some crucial reasons to consider Healthy Air's residential air duct cleaning services:
- Improves indoor air quality
- Eliminates harmful contaminants
- Enhances HVAC system efficiency
- Reduces energy costs
- Prevents mold growth
- Promotes a cleaner living space
Benefits of Choosing Healthy Air's Services
When you choose Healthy Air, you get premier service backed by extensive certifications and experience. Here’s what sets us apart:
- National Air Duct Cleaners Association (NADCA)
- Louisiana state mold remediator #251151
- Certified Air Systems Cleaning Specialists (ASCS)
- Over 20 years of experience
- Free estimates within 45 miles from our office
- One-year workmanship warranty
- Fully Licenses and Insured with Workman’s Comp.
- A+ Rating with the BBB (Better Business Bureau)
- Summary reports provided for every cleaning with before and after pictures
Our 38-Step Process for Cleaning Air Ducts
Healthy Air follows a basic 38-step approach to cleaning air ducts:
Step 1
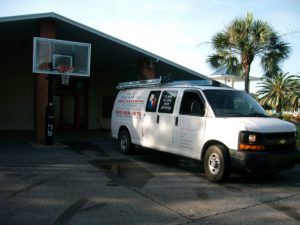
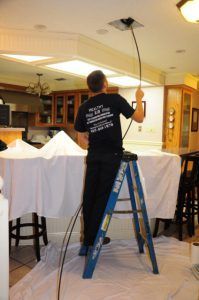
We arrive at your home with a fully equipped work van (we'll need space in your driveway for the van).
Step 2
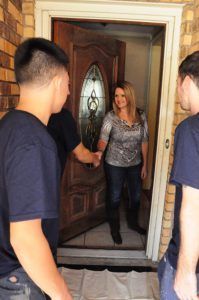
A uniformed technician, certified by NADCA, will introduce himself and the other technicians with him.
Step 3
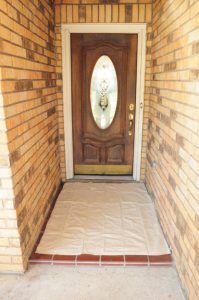
To protect floors and carpeting, a drop cloth will be placed at the entry door to dust off shoes. Shoes can be removed or covered with booties if required by weather or customer preference.
Step 4
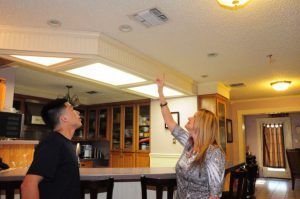
Technician will do a walk-through with the owner to assess the layout, describe the work to be done, and answer any questions that may arise.
Step 5
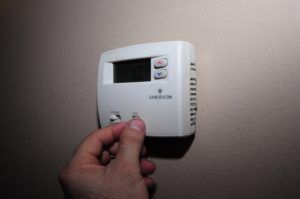
We run the heating and cooling equipment through a cycle to verify that it is operational
Step 6
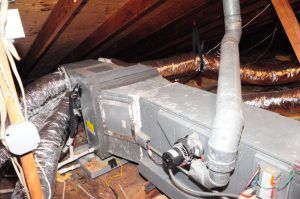
Technician determines air duct layout and evaluates accessibility
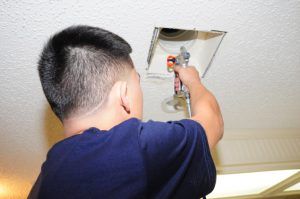
Step 7
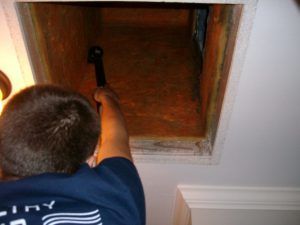
Access openings, if needed, are created in solid ceilings such as fixed tiles or drywall (customer’s responsible for providing access opening if needed)
Step 8
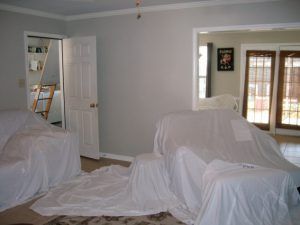
Technician will then cover effective areas with drop cloths and (with help of owner) moves any furniture and or other objects to provide access for cleaning.
Step 9
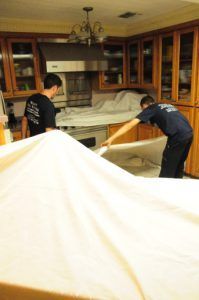
Technician places drop cloths or protective coverings on furniture closest to and flooring directly under each register grill.
Step 10
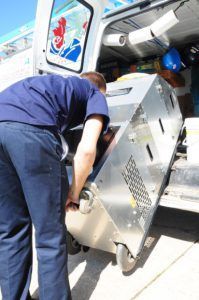
Technician unloads HEPA vacuum and other equipment that will be needed on the job
Step 11
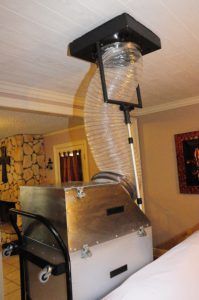
HEPA vacuum is attached to either the supply main or the return main. HEPA vacuum is attached to HVAC system, plenum, or registers (best location for required results). The two sides of your system are cleaned separately.
Step 12
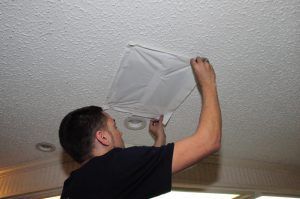
Technician removes all registers and cover openings with zone tape to prevent ‘blow-back’ during the cleaning
Step 13
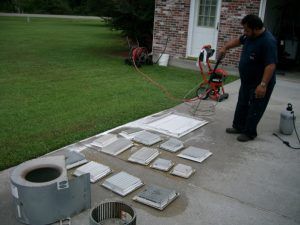
Technician then takes registers and return grills, and other components outside for cleaning using pressure washer with cleaning agents
Step 14

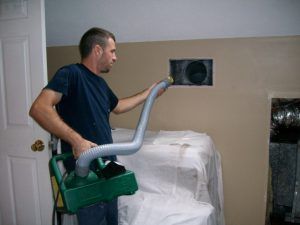
HEPA vacuum is turned on to create a strong negative air flow throughout your air duct system. The HEPA vacuum-induced air flow continues during the entire cleaning process.
Step 15
Technician assembles a power-driven rotary brush tool. The brush head is always cleaned and sanitized before use.
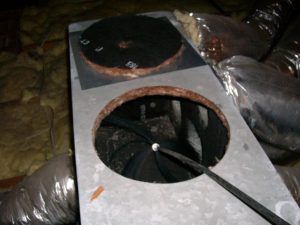
Step 16
Agitation tools such as brushes, whips and air snakes must be run back and forth across every square inch of every interior surface in each duct. The loosened dust and debris is then carried by the air flow down to the branch line and trunk lines to the HEPA vacuum where it is captured.
Step 17
Floor or ceiling registers and the power-driven rotary brushes or passed through either (hard pipe or flex) ducts leading to the trunk line or plenum which are brushed out by this application
Step 18
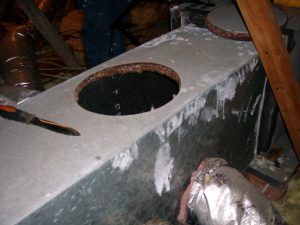
Technician uses cutting tools to create a series of (12”) access openings in the supply or return trunk line for the continued use of agitation tools to loosen dirt and debris so the negative air flow can carry it to the HEPA vacuum. 6” to 12” Circular Holes are cut in Metal or 8” to 16” Pumpkin Cut into Fiber Board Duct Work.
Step 19
Even though agitation tools have already been skillfully applied to every (hard pipe or flex) duct surface, the Technician then takes the next step of applying the rotary brush throughout both the main ducts or in most cases hand vacuum the smaller Plenums.
Step 20
The HVAC systems furnace blower and blower compartment are then accessed and cleaned
Step 21
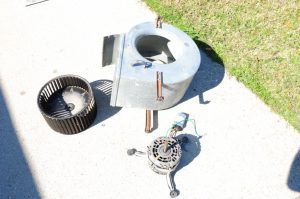
To insure a thorough cleaning, the technician then removes the blower from the blower compartment if possible. Then removes the Blower motor from squirrel cage and cleans thoroughly before reassembling blower
Step 22
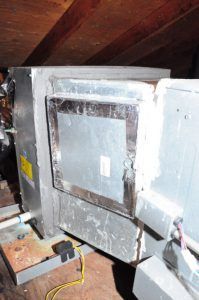
If the system has air conditioning, the plenum (usually just above the furnace) is opened to give the Technician access to the evaporator coil of the air conditioning system. Access Doors can be provided if customer chooses it as an entry point for further coil cleaning. Access Doors may require additional cost.
Step 23
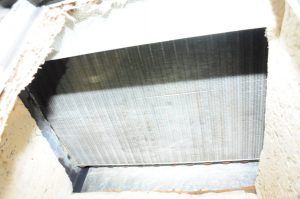
Technician vacuums, cleans and washes the evaporator coils using a (Type 1) coil cleaning processes and vacuums out and cleans the evaporator coil, the drain pan beneath it and drain line.
Step 24
Depending on the condition of the coil a (Type 2) coil cleaning may be required. The evaporator coil is to be pulled be a Licensed HVAC contractor which could result in additional cost or replacement if needed. We rely on the owners HVAC Contractor to perform this task if home owner doesn’t have a HVAC Contractor we will recommend one for the service.
Step 25
To insure a thorough cleaning, the technician then removes the Filter Grill for cleaning. Hand Vacuums with HEPA Vacuum the HVAC Re-Turn for dust and other contaminates.
Step 26

If the job includes it, the Technician then cleans the burners, the combustion chamber and the interior of the heat exchanger on the furnace and coated with Fosters 40/20 after cleaning.
Step 27
Technician will fog your duct system with a Micro-Biocide to kill any living organism within your ducts it’s also (a disinfectant) and deodorizer the inside of the duct work.
Step 28
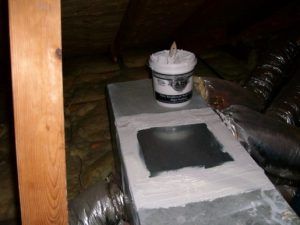
Foster 40-20 Fungicidal Protective Coating is then applied as or encapsulate on the insulated interior lining of all Trunk line, plenum’s, returns and all drop boxes. Fungicidal protected coating to keep any mold, mildew and bacteria from reoccurring
Step 29
2 ½”and 4” access openings if needed are sealed with injection molded pop-in plugs and Mastic tape
Step 30
 Describe the item or answer the question so that site visitors who are interested get more information. You can emphasize this text with bullets, italics or bold, and add links.
Step 31
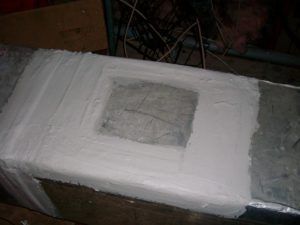
Larger access openings in Fiber Board Trunk Lines are replaced back, sealed with Mastic tape and Fiber Mastic is applied to covers as to prevent air seepage and return ducts to a like-new condition.
Step 32
Technician reassembles all components and removes all equipment drop clothes, supplies then are removed from the jobsite and stowed back in the work van.
Step 33
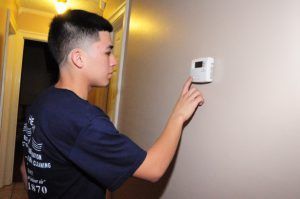
Technician runs heating and cooling equipment through a cycle once again to verify that it is operational
Step 34
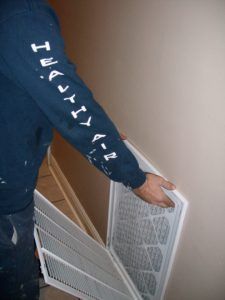
If the customer has a clean replacement filter the Technician installs it (Healthy Air Duct Cleaning does not reinstall dirty filters and does not sell or carry replacement filters). For best results we recommend using 1” Pleated Filters with a MERV Rating of no greater than 800 and change out every 30 days like normal.
Step 35
Technician applies a service sticker showing date of cleaning, Technician names, and suggested date for next cleaning, along with recommended filter type and size information.
Step 36
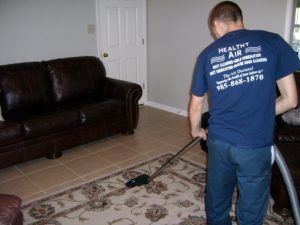
Technician conducts a final walk-through, and looks for any equipment, drop cloths; furniture is put back in place making sure no equipment is left behind, then HEPA Vacuums the entire home to pick up any residual containment that may be left on flooring during the process.
Step 37
After technician conducts a final walk-through, requests customer signoff on Service Order and receives payment, Thanks Customer and departs.
Step 38
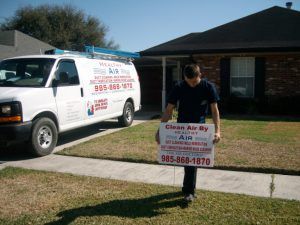
Customer is asked if we can place a yard sign in the front yard to let all there Nabors know that they are Breathing Healthier and they can too!!!!!
Contact Us
If you’re ready to improve your home’s air quality, don’t hesitate to reach out to Healthy Air. Our team is here to provide expert service and ensure your ducts are clean and efficient.

Share On: